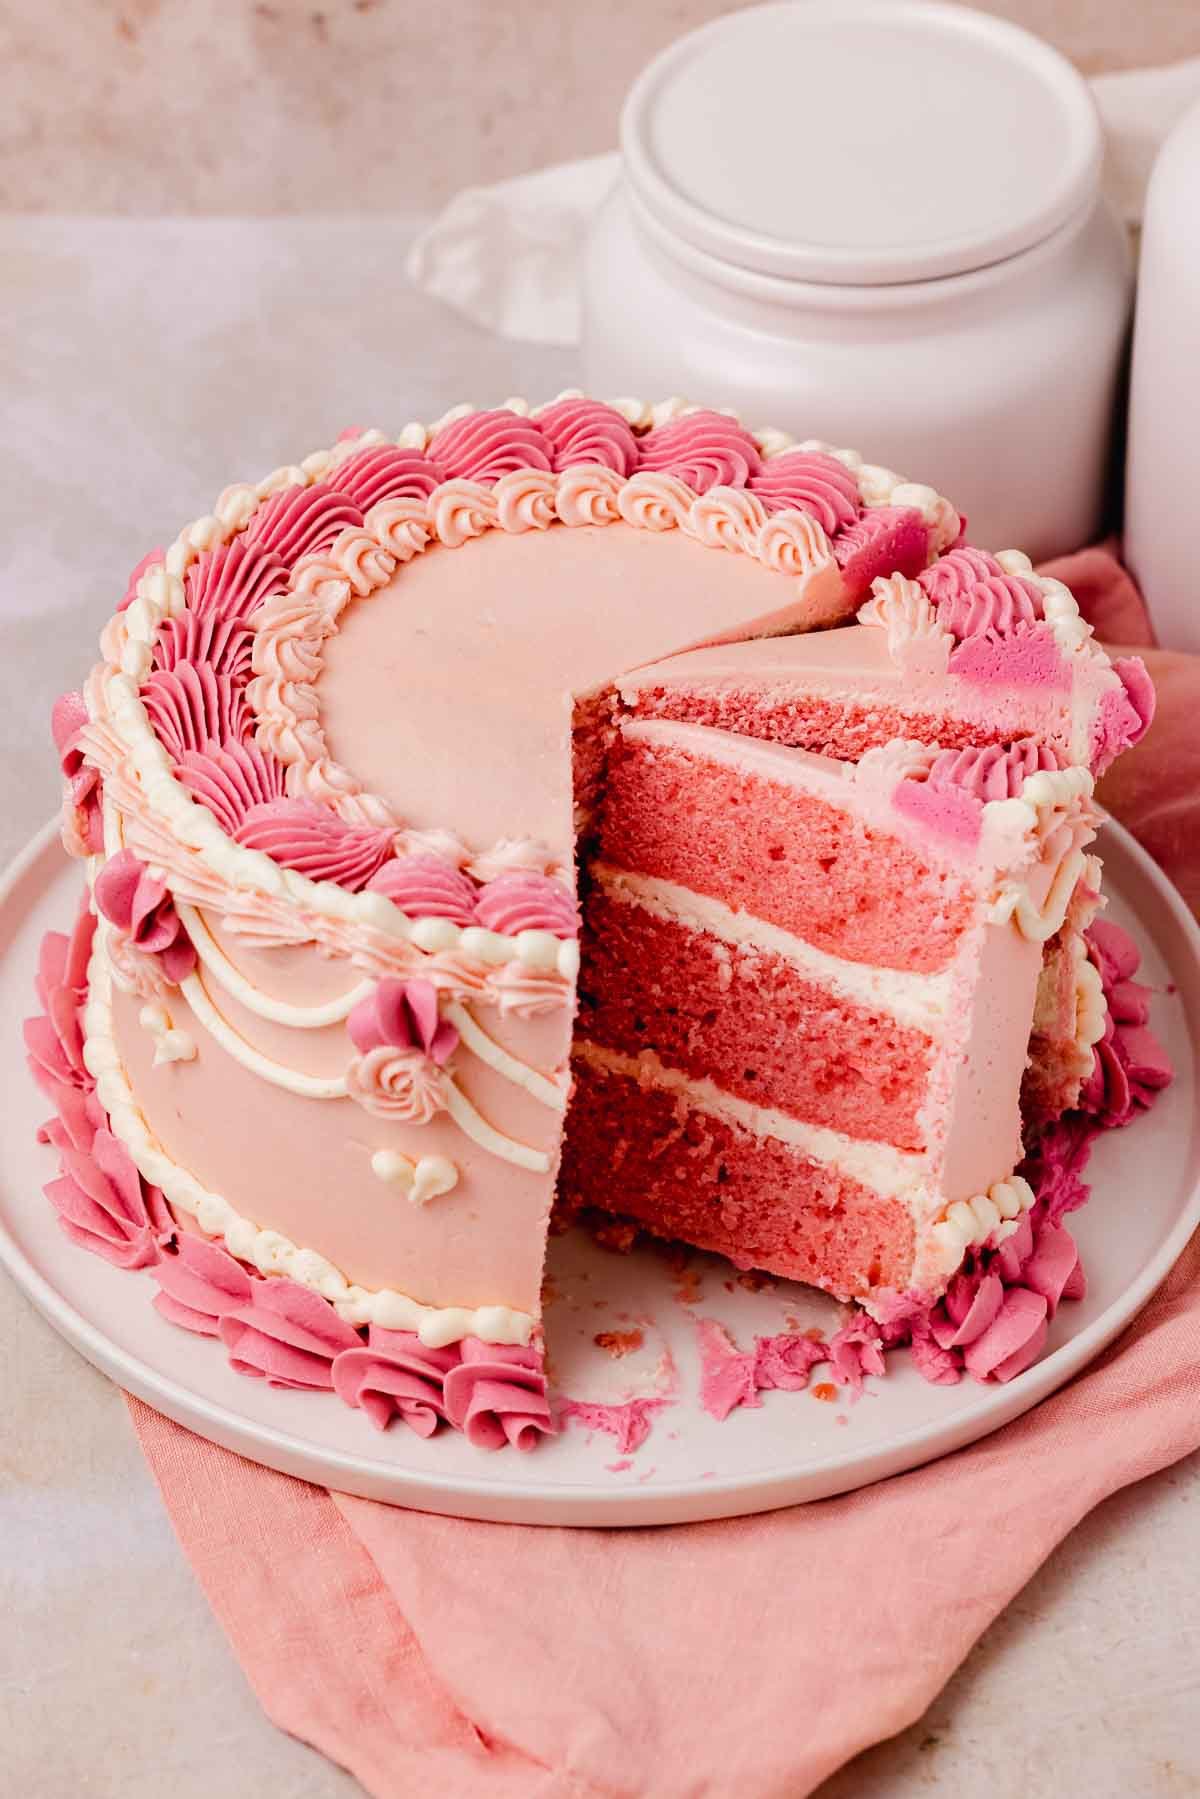
The Ultimate Guide to Making the Best Pink Velvet Cake
This pink velvet cake is incredibly fluffy, tender, and moist, topped with a luxurious cream cheese frosting. Inside, it’s a lovely shade of pink, adorned with vintage piping decorations on the sides and top. Similar to red velvet cake but without the cocoa powder, it offers the same dense, velvety texture and subtle tang. Perfect for a pink birthday cake, a vintage birthday cake, or even a princess party cake, you can decorate it as elaborately or simply as you desire!
🍰 WHY YOU’LL LOVE THIS RECIPE
- Velvety: The texture of the cake is ultra soft and fluffy. If you could eat velvet, that would be the texture (in a good way).
- Soft and tender cake: The buttermilk, vinegar, and cake flour create the lightest, fluffiest cake layers.
- Pink: The pale pink cake layers are a stunning surprise, and the pink piping and frosting on the outside complements the colors perfectly.
- Cream cheese frosting: This cream cheese frosting is thick, creamy, tangy, and the perfect piping consistency so you don’t have to mix up different types of frosting for the filling and piping.

📝 KEY INGREDIENTS
Read through for all the tips you will need for success!
Full steps and ingredients in recipe card below.
PINK CAKE LAYER INGREDIENTS

- Butter & oil: A combination of butter and oil gives the cake a buttery flavor and the oil keeps it moist and tender.
- Buttermilk: This gives you ultra tender cake layers. I highly recommend using store bought buttermilk because it has the best consistency and flavor. If you can’t find store-bought buttermilk, you can make it yourself by stirring 1 tablespoon of apple cider vinegar or white vinegar into 1 ¼ cups of room temperature milk. Stir and let sit for 5-10 minutes until thickened.
- Pink gel food coloring: This gives the cake layers a gorgeous pink color.
- Cake flour: Cake flour has less gluten than all purpose flour, giving you a lighter and fluffier cake. Weigh the flour to get the most accurate results!
- Egg whites: Whites instead of whole eggs with yolks keep the cake a pale white color. This allows you to get a gorgeous pink color. If you use whole eggs, the yellow yolks will interfere with the pink color, creating more of an orange-pink color.
📝 KEY INGREDIENTS
Read through for all the tips you will need for success!
Full steps and ingredients in recipe card below.
PINK CAKE LAYER INGREDIENTS
- Butter & oil: A combination of butter and oil gives the cake a buttery flavor and the oil keeps it moist and tender.
- Buttermilk: This gives you ultra tender cake layers. I highly recommend using store bought buttermilk because it has the best consistency and flavor. If you can’t find store-bought buttermilk, you can make it yourself by stirring 1 tablespoon of apple cider vinegar or white vinegar into 1 ¼ cups of room temperature milk. Stir and let sit for 5-10 minutes until thickened.
- Pink gel food coloring: This gives the cake layers a gorgeous pink color.
- Cake flour: Cake flour has less gluten than all purpose flour, giving you a lighter and fluffier cake. Weigh the flour to get the most accurate results!
- Egg whites: Whites instead of whole eggs with yolks keep the cake a pale white color. This allows you to get a gorgeous pink color. If you use whole eggs, the yellow yolks will interfere with the pink color, creating more of an orange-pink color.
CREAM CHEESE FROSTING INGREDIENTS

- Cream cheese: Full fat brick style cream cheese will give you a thick, pipeable cream cheese. Don’t use low fat cream cheese – it has too much water content and will make a gloopy frosting.
- Pink and red gel food coloring: To get the same look that I did, you need pink food coloring for the pale pink color and a combination of pink and red food coloring for the darker pink color. Or you can just frost and decorate with uncolored, white frosting.
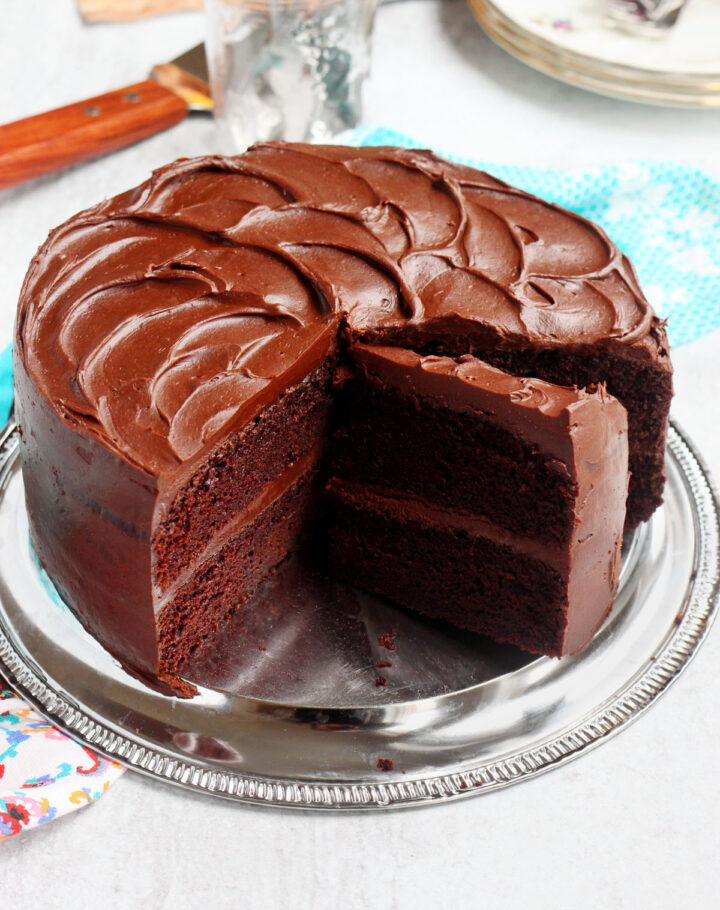
My strawberry cinnamon rolls and raspberry tiramisu recipe are also ultra pretty in pink and don’t use any food coloring to make them pink!
👩🍳 HOW TO MAKE PINK VELVET CAKE
CAKE LAYERS STEP BY STEP
Prep: Preheat oven to 355°F (180°C). Grease three 8” round baking pans with a bit of cold butter and line the bottoms with rounds of parchment paper.

Step 1: In a large bowl or stand mixer, combine softened butter, oil, sugar, and salt. Beat with an electric mixer until lightened in color and increased in volume. Scrape down the bowl.

Step 2: Add half of the egg whites, blend, then the rest of the egg whites and blend. Beat until increased in volume and thick. Add vanilla extract and vinegar, blend.

Step 3: Add pink food coloring, one pea sized amount at a time until you get a pink color. It will lighten a bit after adding the flour so make it slightly darker than you’d like.

Step 4: Sift half of the cake flour, all of the baking powder, and all of the baking soda into the bowl with the batter. Add the buttermilk and fold with a whisk to incorporate. Sift the rest of the flour in and fold well with a whisk to break up most of the lumps to make a mostly smooth batter. Don’t overmix.

Step 5: Evenly divide the batter between the greased and lined baking pans. Smooth the batter tops and gently tap them on a counter to release any large air pockets. Bake for 15-18 minutes or until a toothpick inserted into the center comes out mostly clean with a few crumbs attached.

Step 6: Remove from the oven and let the layers cool for 8 minutes inside the pans. Loosen the edges with a spatula and turn them out onto cooling racks to cool completely.
When cooled, use a serrated knife and a sawing motion to gently trim the edges, top, and bottom of the layers. Only trim the golden brown bits to give you clean, pink layers.
CREAM CHEESE FROSTING STEP BY STEP
This recipe gives you plenty of cream cheese frosting for filling, frosting, and decorating the cake.

Step 1: In a large bowl or stand mixer, beat the butter with a paddle attachment until creamy and lightened in color.

Step 2: Add the salt and powdered sugar, one cup at a time. Beat well in between each addition and scrape down the sides of the bowl frequently. Whip until very creamy and light. The longer you whip, the creamier the frosting will be.
Add pieces of cream cheese, blending well before adding the next. The frosting will become very light and fluffy. Add vanilla and beat again.
ASSEMBLING THE CAKE STEP BY STEP

Step 1: Smear a small dollop of frosting onto a serving plate or cake stand. Place the first layer of cake down. Spread about ⅓ cup of frosting in an even layer on top. Continue until the last layer.

Step 2: Cover the stacked cake with a very thin layer of frosting all over the top and sides. Use a long metal spatula or cake scraper to help spread. Pop it in the freezer for 10 minutes to set and lock in the crumbs.
Step 3: While the crumb coat chills, work on dividing and coloring the remaining frosting. Transfer about 1 cup of frosting into a medium bowl (this is for the white piping) and color the remaining frosting a pale pink color.

Step 4: Cover the cake with the pale pink colored frosting and smooth the sides and top. Set aside a third of the remaining frosting and add more red and pink food coloring into the rest of the frosting. This will be the darker pink piping color.

Step 5: Transfer the white, pink, and darker pink frosting colors into three different piping bags. Use a large open star piping tip for the dark pink color. I used a Wilton 1M for the bottom border and embellishments, and a large drop flower tip for the top border.

Step 6: Use a small open star piping tip for the pale pink color. For the white beaded frosting, I just cut the end off the piping bag to make a round tip. Pipe borders and swoops all along the edges and sides of the cake.
Optionally, spray or sprinkle a small amount of edible glitter for some sparkle.
✔️ EXPERT VELVET CAKE GUIDES
- Use store-bought buttermilk: It will give the cake more flavor and moisture than using homemade buttermilk made from milk and vinegar.
- Use cake flour: This gives you the ultimate soft, fluffy, tender cake layers.
- Measure the flour properly: Use a scale to measure it for best results. If you don’t have a scale, you can fluff up the flour with a spoon and carefully spoon it into a dry measuring cup. Scrape the excess flour off the top using the flat edge of a knife without packing the flour into the cup.
- Don’t overmix the cake batter: As soon as you add the flour, be careful not to overmix because that will make the cake tough. It’s ok if there are some lumps left. Use a whisk to fold the cake batter – this will help to get rid of most of the lumps.
- Trim the cake layers from any brown bits: This will give you perfectly even, pink layers that will look so much better when the cake is frosted.
- Use full fat, brick style cream cheese: This will give you a fluffy, stable, pipeable cream cheese frosting.